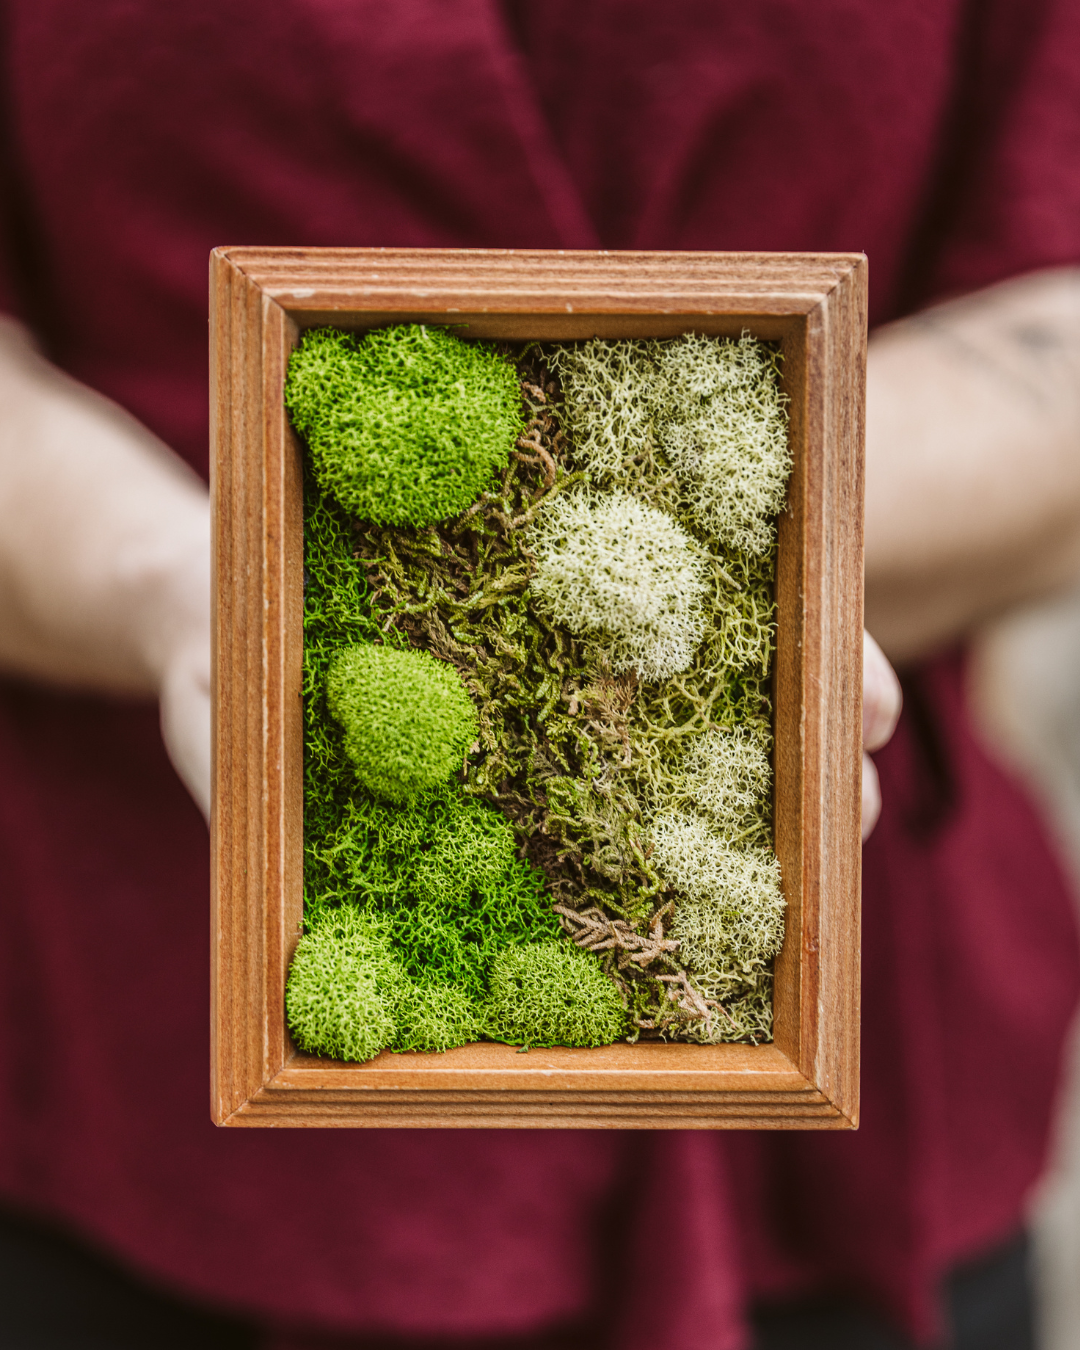
How to: DIY Moss Art Kit
Step One
Before you begin, check the hook or stand placement on the back and confirm (or decide if you have the option to do so) your frame’s orientation (which way it's going to stand or hang on the wall).
Step Two
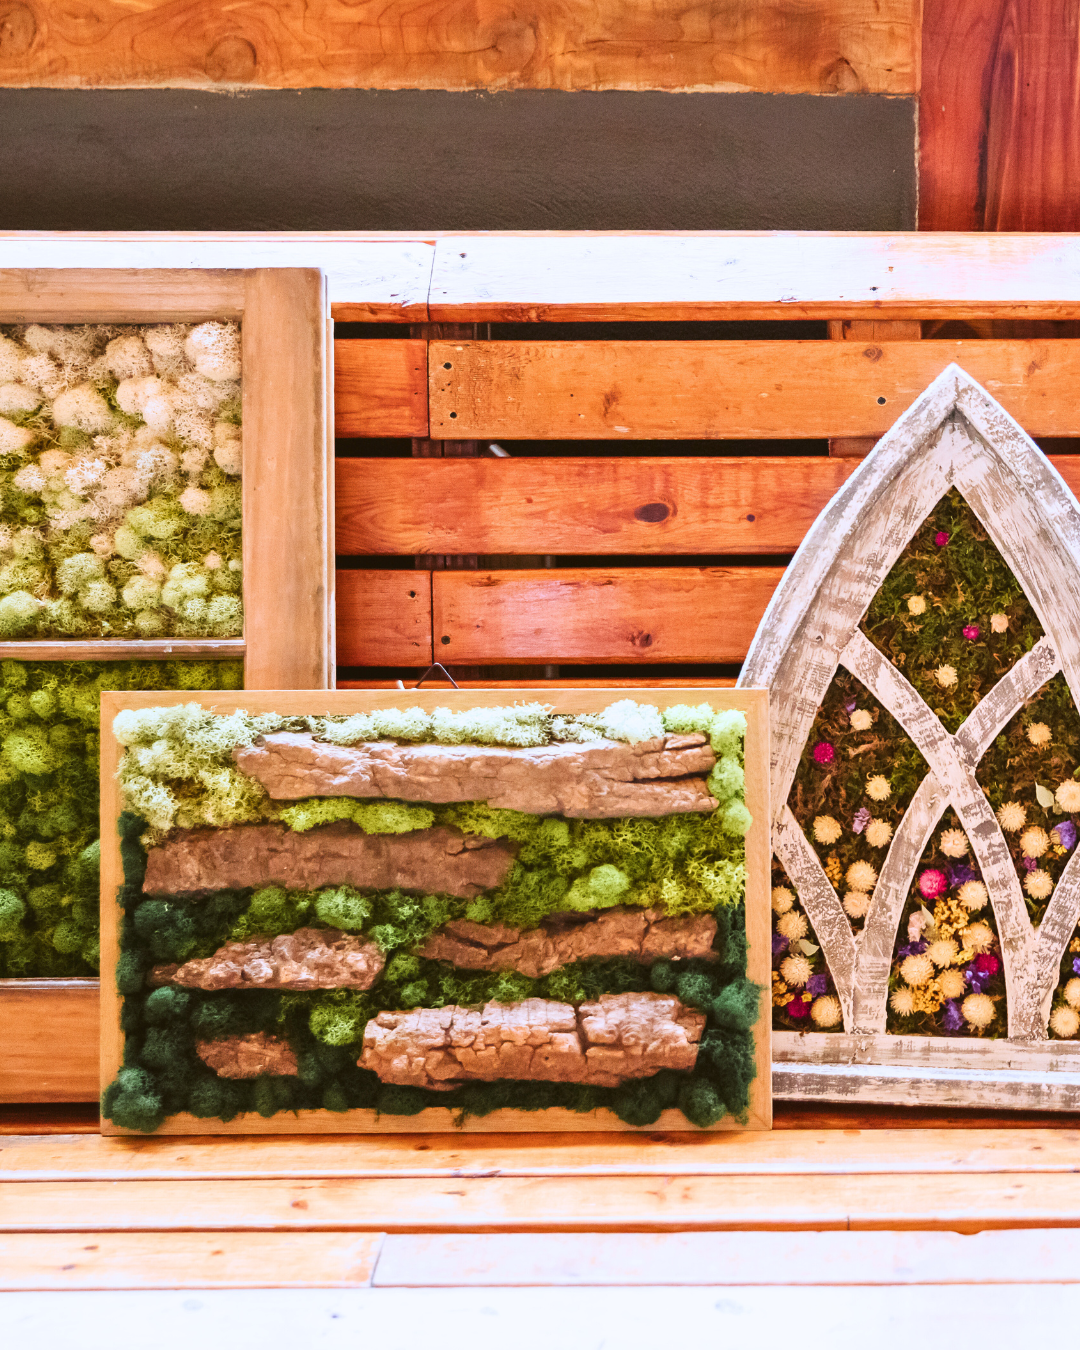
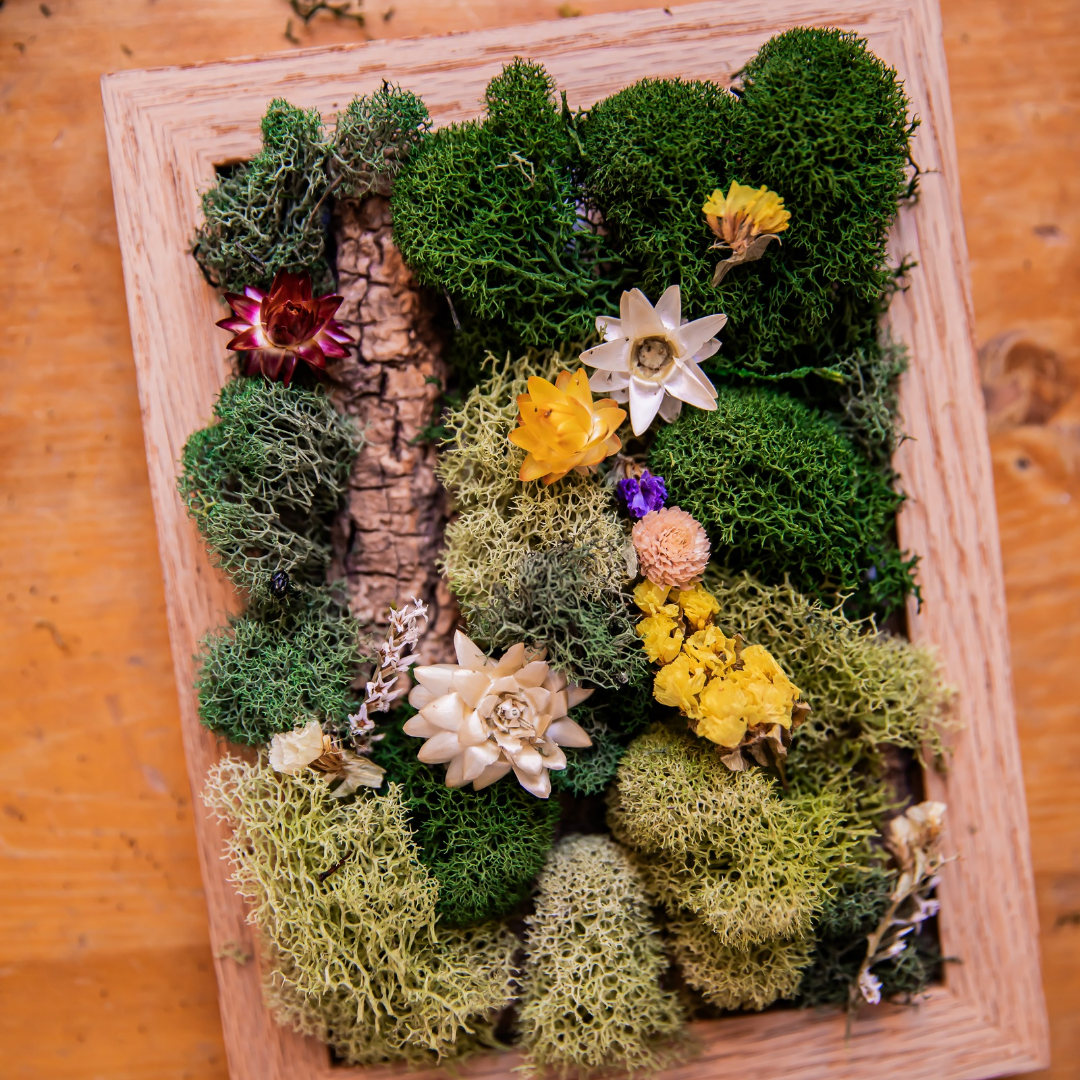
If you're using bark, I recommend arranging it on your frame first and glueing it down with either hot glue or (preferably) wood glue. Then, you'll build up your moss around it.
Step Three
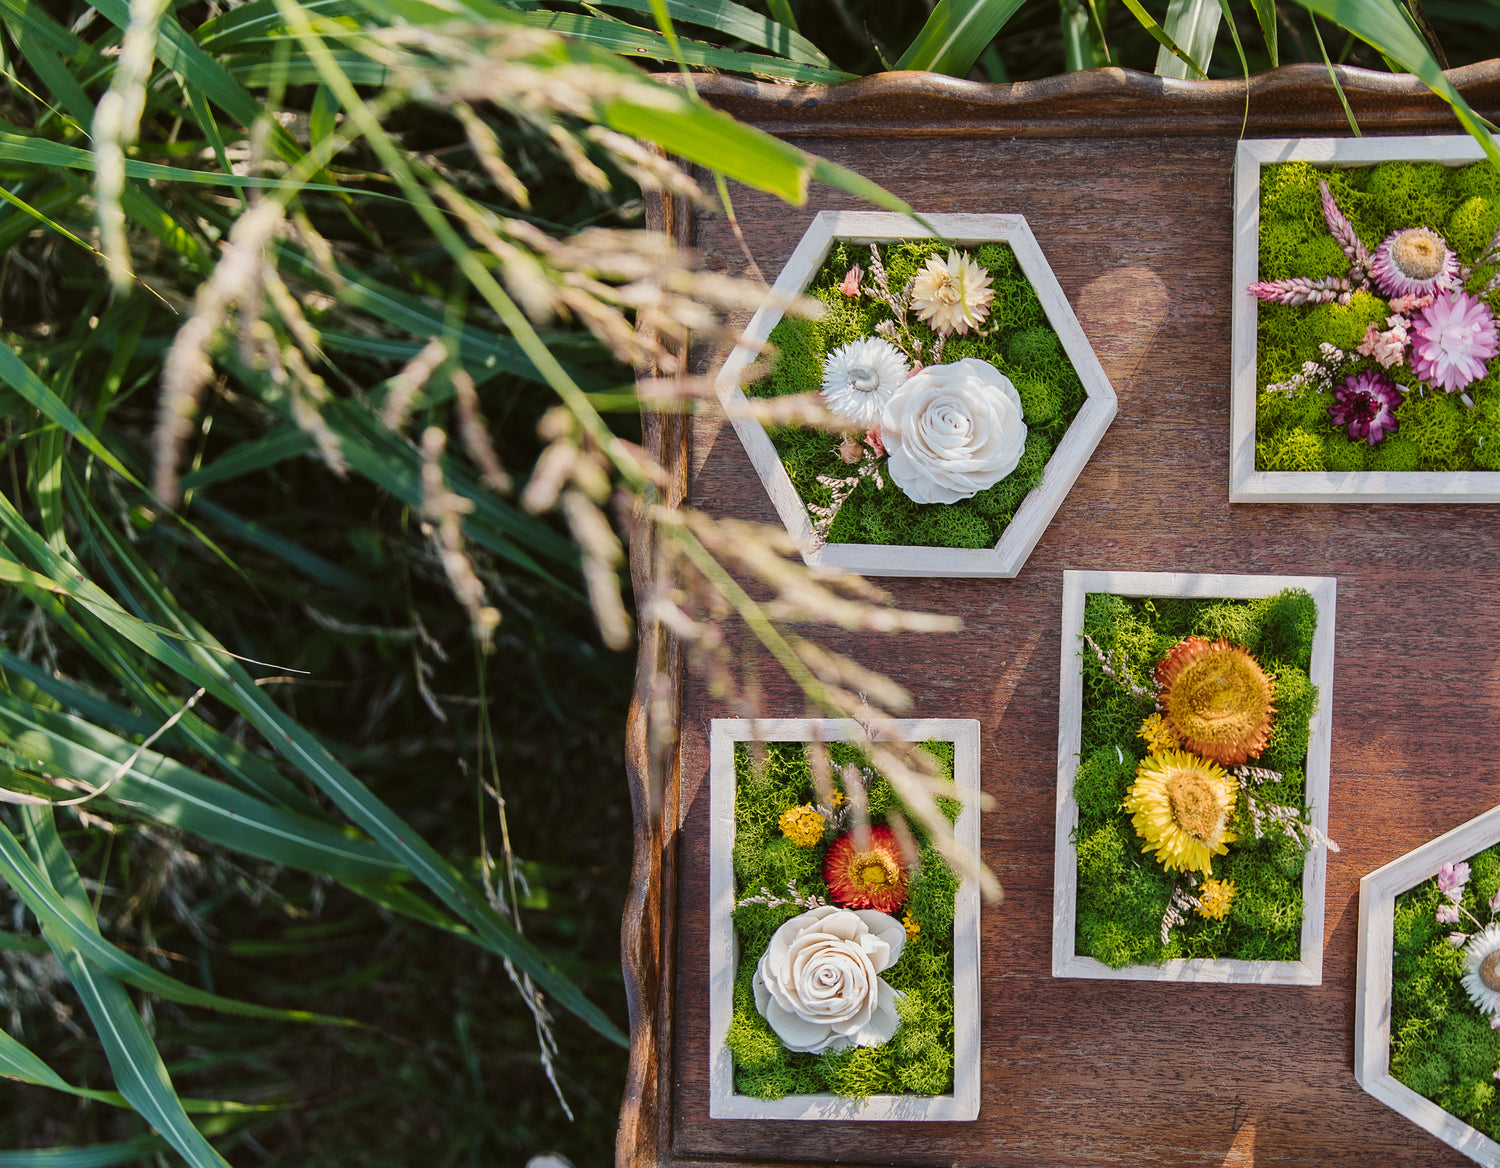
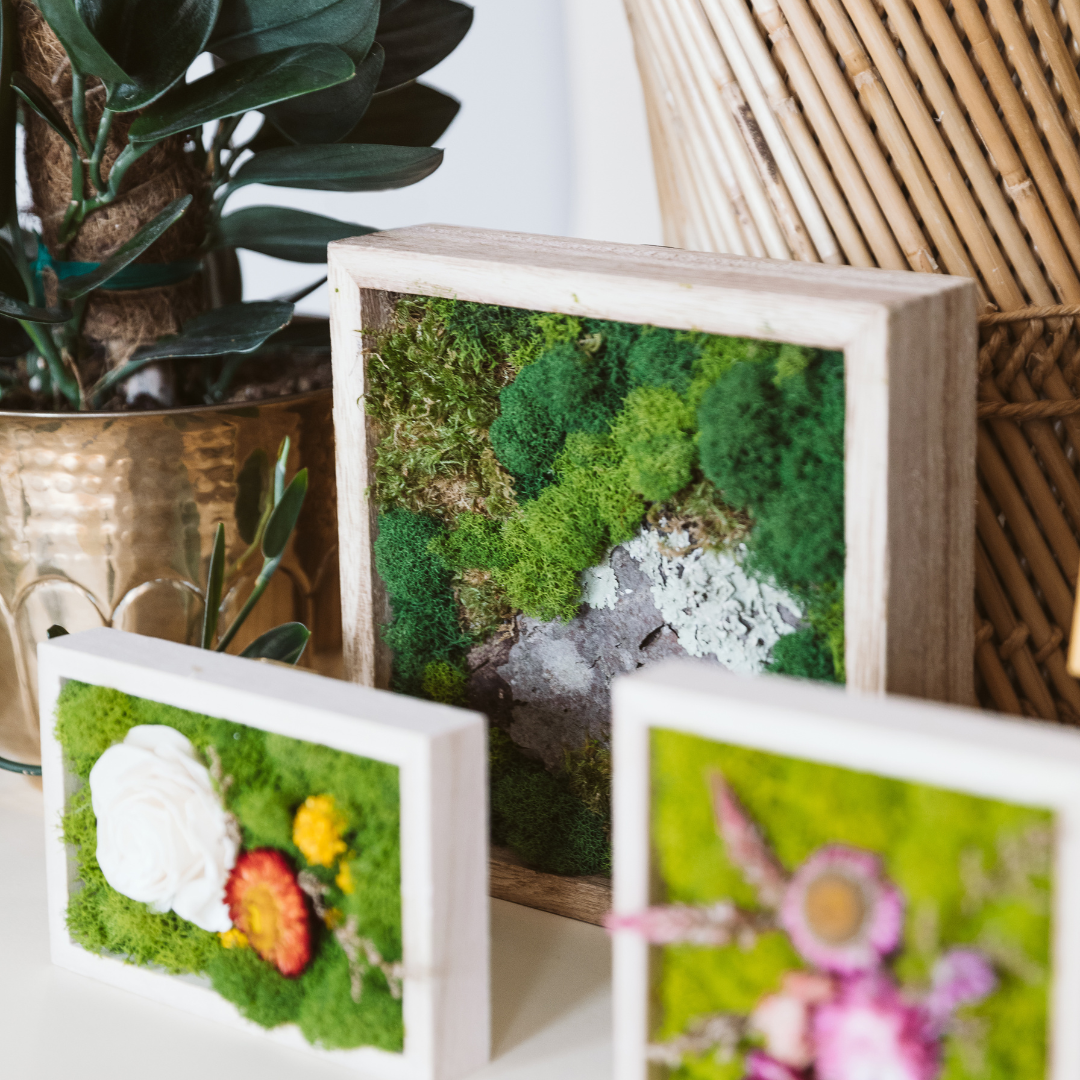
Let loose and glue your moss and flowers in any design that speaks to you! If it helps, you can consider color and contrast, as well as height and depth, in your process of building out your piece.
I do recommend craft glue for flowers and leaves that are more delicate.
Step Four
When you think you’re done, carefully pull away hot glue tails and check your piece from multiple angles to ensure you haven’t missed any spots.
Hold your piece over a garbage can or take it outside to lightly tap the back and shake out all the loose dirt and moss.
Step Five
Marvel at your masterpiece and send me a pic via instagram (@reclaimed.gardens) or email (hello@regrdns.com)!